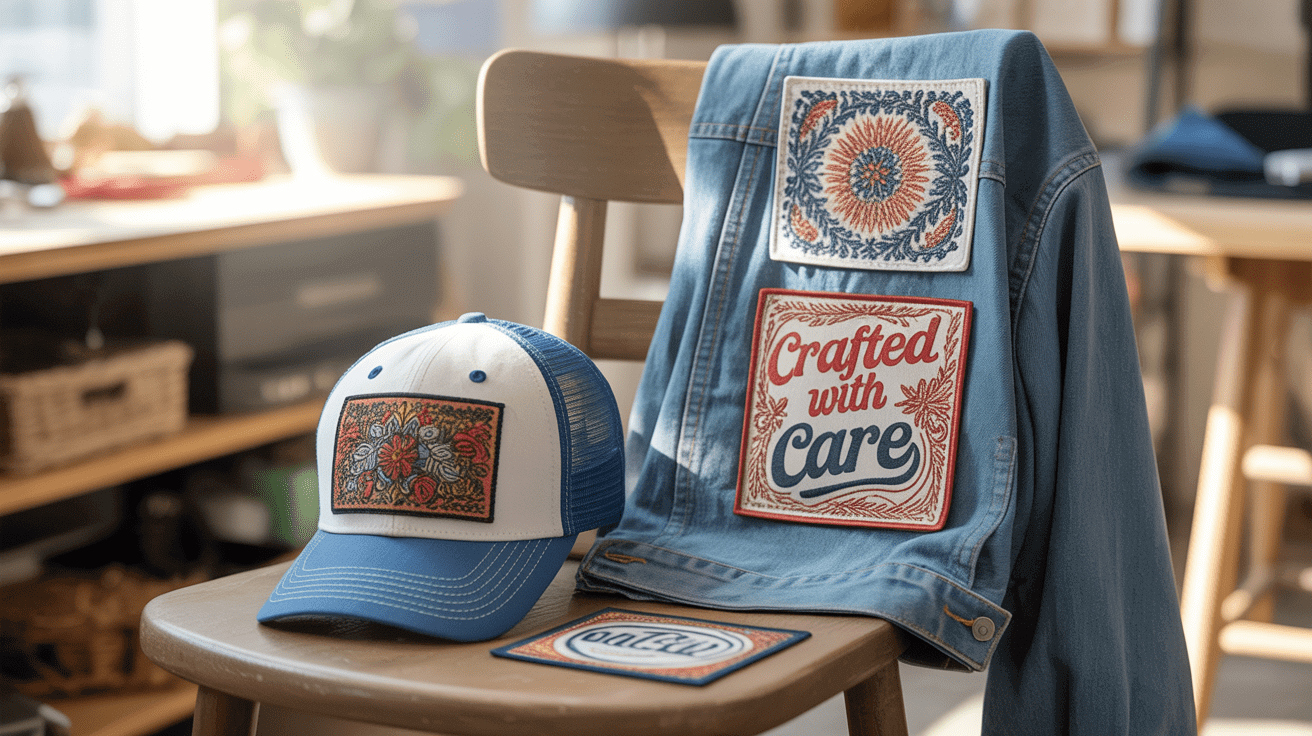
Patches give plain clothing vitality and purpose. They have the ability to transform a plain jacket or hat into one that is distinctive and striking. One of the evergreen patch types used on jackets and hats is Custom Embroidered Patches. Business Clubs and teams often use these patches on the front panel of the hat or on the back of a jacket to show their unique identity with vibrant colors.
There is no need to have a background in tailoring or any sort of equipment to attach patches on your garments. As a beginner, you can still add colors, style and a new personality into your fabric with a little time and consideration. In this guide you will find everything you need to get your patches successfully applied on your hat and jacket while maintaining quality.
Step-by-Step Applying Iron-On Embroidered Patches to Jackets
Jackets are usually made of heavy fabrics like denim, canvas, or workwear cotton which hold heat well and provide excellent bonding surfaces. For a clean and professional application, follow these simple steps:
- Position the patch. Use rulers or placement guides for consistency in logo alignment.
- Secure the patch. Use heat-resistant tape or fabric pins to prevent shifting.
- Cover with a cloth. Always place a pressing cloth between the patch and the iron plate.
- Apply heat. Press for 25–30 seconds with steady pressure. Avoid moving the iron.
- Cool naturally. Let the patch set for at least 3 minutes before touching.
- Inspect edges. Re-press lifted edges for 10–15 seconds if needed.
Easy Steps to Apply Iron-On Patches to Hats
Hats do not have flat surfaces like jackets. They require a slightly different approach due to their curved structure. Small patches with flexible borders bond more smoothly to hats than large, rigid designs. With some patience and extra care, follow the following steps for a smooth patch attachment:
- Insert a pressing mold. A rounded surface helps maintain cap shape and supports even pressure.
- Place the patch on a clean, dry panel. The front crown or side panel works best.
- Cover with cloth and apply heat. Press for 15–20 seconds, slightly less than for jackets.
- Check for alignment. Allow to cool before handling or shaping.
- Reinforce edges. Optional light stitching ensures longevity during outdoor use.
How to Prepare Garments Before Application
Proper preparation helps adhesives bond evenly and prevents patch lifting during washing or wear. Follow these preparation tips:
- Inspect the fabric surface. Remove lint, dust, and oil residues. Clean with a lint roller or compressed air.
- Preheat the area. Press the iron for about 5–10 seconds to smooth wrinkles and remove moisture that can weaken adhesive bonding.
- Check material compatibility. Iron-on adhesives work best with cotton, canvas, denim, and twill. Avoid heat-sensitive synthetics like nylon, silk, or leather unless tested first.
- Flatten seams. For jackets, press seams flat before application. For hats, use a firm curved surface (a pressing mold or cap block).
How to Choose the Right Tools and Materials
Embroidered patches with iron-on backing are the easiest to attach. You only need the right tools and materials to efficiently apply your patches to jackets and hats with the right temperature settings.
- Heat Press Machine or Iron: for efficiency with multiple units, you can use a heat press machine otherwise, a hand iron works best for jackets and hats to put proper pressure.
- Teflon or Cotton Press Cloth: Protects the patch surface from direct heat.
- Temperature Guide: Set heat between 330°F to 350°F (165°C–177°C).
- Press Time: Maintain consistent pressure for 15–30 seconds depending on fabric density.
- Iron-on Patch: Choose the custom embroidery patch for your jacket and hat with respect to size and type.
What are the Aftercare Guidelines
Once the patch is applied, the next thing is to take proper care of it for lasting results. If not taken care properly the patch will start peeling from the edges. Follow these simple tips to save the embroidery details for long:
- Wait for at least 24 hours before washing to let the glue properly dry on the fabric
- Wash the fabric with cold water after flipping the fabric inside-out.
- Avoid dryers above medium heat.
- Re-press edges if slight lifting occurs after multiple washes.
What are Some Common Application Mistakes to Avoid
Incorrect application might cause even high-quality patches to peel. To guarantee a clean finish and a durable bond, steer clear of these typical blunders.
- Applying heat directly without a press cloth (flattens embroidery texture).
- Ignoring fabric compatibility. Adhesive won’t bond to stretch or coated fabrics.
- Overheating, which causes discoloration or glue marks.
- Moving the iron during pressing leads to misaligned edges.
- Do not skip the cooling time as it may result in weakening the adhesive.
FAQs
Which fabric works best with iron-on patches?
Iron-on patches work well with cotton, denim, canvas, and twill, because they are not heat sensitive like synthetic fibers.
Can I apply iron on patches to hats?
Yes. You can attach an iron-on patch to a hat by using a pressing mold or a towel inside the hat for even distribution of pressure and for better sticking of the patch.
How long do iron-on patches last?
They last through many washes when properly applied and cooled. Sewing edges adds extra life.
Should patches be pressed before or after garment finishing?
Apply them after major stitching but before packaging. This prevents damage during bulk pressing.
Final Thoughts
If you want to customize hats, jackets, or other apparel, iron-on embroidery patches can be a great way. You can express your individuality, and they create a polished and durable way to complete any clothing item.
With some element of preparation, heat application, and inspection, you will be able to create a sharp looking patch every time. This gives you an easy way to restore clothing while reflecting your style, in the simplest way possible.
For quality embroidery patches that deliver precision and lasting appeal, Patch Maker Canada offers expert craftsmanship and custom solutions suited to every style and purpose.

