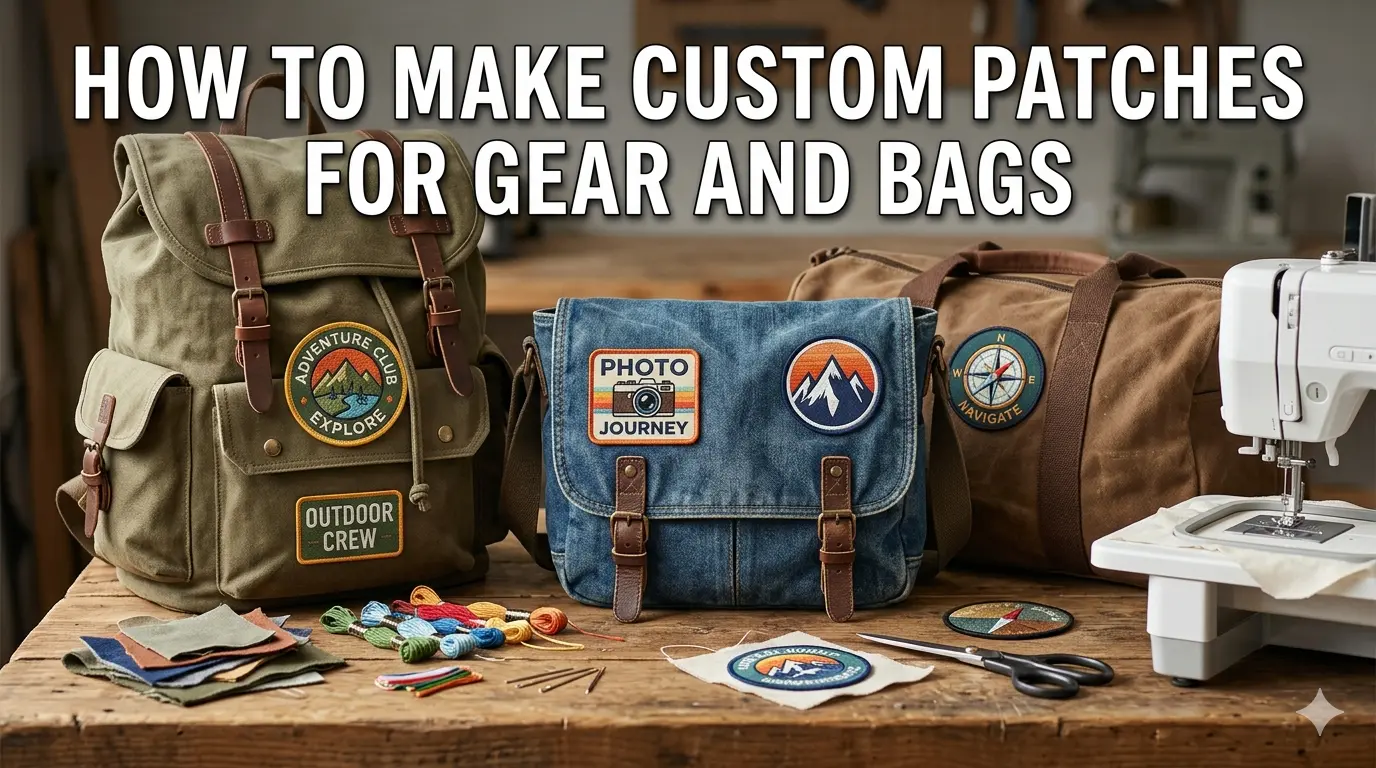
Patches are one of the best ways to personalize your gear and backpacks. But if you look around, every person seems to have adopted this styling secret. From fashion stages and casual outings to employee uniforms and brand merch, every person has the patch on their gear. In this, if you want a patch that looks truly special, all you need to do is learn how to make custom patches yourself.
So, if you’re set to put your hands to work and design your patch, read below. In this guide, you will learn how to make patches for your gear and bags that look attractive and truly personal.
Why Custom Patches Work So Well for Backpacks, Jackets, and Gear
Patches add personality to your outfit. They bring a charm that stickers, paint, or screen printing just can’t match. They personalize, brandify, and add versatility.
Personalization: One of the main reasons people learn how to make custom patches is to add a unique identity. Patches with army, police, flag, musical, or other niche designs bring that identity to clothes.
Branding: The more your brand is visible, the more it stays in consumers’ minds. If you spread patches of your business and people wear or tag them, wherever they go, your name gets noticed.
Versatility: Clothes may have simple colors and patterns, but a patch can make them versatile. It instantly transforms an ordinary, casual piece into something fashionable and unique.
Step-by-Step Guide: How to Make Custom Patches
Step 1: Sketch and Design Your Patch
Grab some paper and just start doodling your idea at real size. Don’t jump to the screen yet, patches are small, usually 2 to 4 inches, so your design needs to shine even in a tiny space.
Step 2: Choose Fabric and Backing
Choose your fabric based on how you’ll use the patch. Twill works best for clean machine embroidery. Felt is perfect for simple hand-stitched designs.
Step 3: Select the Patch Type
Each method serves a different maker and a different end use.
| Feature | Hand Embroidery | Machine Embroidery | Printed |
| Best For | Personal projects, small batches | Bulk production, professional use | Complex, full-color designs |
| Process | Done manually using needle and thread | Uses digitized files and embroidery machines | Uses printing methods like sublimation or screen printing |
| Detail Level | Medium detail with artistic variation | High detail with consistent stitching | Very high detail, supports gradients and photos |
| Texture | Rich, handmade texture | Raised, structured 3D texture | Flat surface, no stitching texture |
| Durability | Good, depends on stitching quality | Very durable, long-lasting | Moderate, may fade with heavy use |
| Production Speed | Slow | Fast for bulk orders | Fast and scalable |
| Cost Efficiency | Higher per piece (time-based) | Cost-effective in bulk | Cost-effective for large runs |
Step 4: Cut and Finish Edges
The border of a patch actually holds the key to its durability. So make sure you merrow the edge cleanly and exactly along the border.
Step 5: Attach Patches to Bags and Gear
Iron-on method:
- Lay your patch flat and grab some sharp scissors.
- Cut carefully along the edge, following the shape.
- Snip any stray threads so it looks neat.
- If you want it extra tidy, a little sealant or careful heat can stop fraying
Sew-on method:
- Use a straight stitch or zigzag stitch around the patch edges
- Choose matching or contrast thread based on your design
- More durable than iron-on, lasts for years
- Handles machine washing much better
- Ideal for thick materials like canvas or ripstop nylon
- Use a saddler’s needle and waxed thread for extra strength when sewing by hand
- Best option when a sewing machine can’t penetrate heavy fabric
Hook-and-loop (Velcro) method:
- Sew hook tape onto the bag surface
- Attach loop tape to the back of the patch
- Allows you to easily swap patches between different gear
- Ideal for frequent changes and customization
- Commonly used in tactical, military, and EDC (everyday carry) setups
- Perfect for morale patches that rotate regularly
Note: If all of this seems overwhelming, Patch Makers Canada can handle it for you. We create custom patches for every need. From small business merchandise to large-scale employee uniforms and even casual personal use. Whatever type of patch you need, we can make it happen.
Types of Custom Patches for Gear and Bags
| Feature / Attribute | Embroidered | Woven | Printed | PVC | Leather | Felt |
| Texture / Look | Raised, 3D surface | Flat, smooth | Flat, full-color | 3D, molded | Smooth, embossed/debossed | Soft, matte |
| Detail / Design | Bold designs, 50–100% stitch coverage | Fine lines, small text, intricate designs | Photorealistic, unlimited colors | High detail, flexible | Moderate detail | Simple shapes, die-cut edges |
| Durability | Very durable; withstands washing | Durable, less raised texture | Moderate; may fade | Extremely durable; waterproof | Very durable | Moderate |
| Best For | Backpacks, jackets, uniforms | Labels, premium apparel, high-end bag tags | Promotional patches, retro gear, large runs | Tactical gear, outdoor brands, hats | Waxed-canvas bags, leather goods, bespoke apparel | Kids’ gear, craft projects, vintage-inspired |
Common Mistakes to Avoid When Making Custom Patches
- Misaligned Designs: If your fabric isn’t centered before hooping, your design will look off. Mark the center, it saves you later.
- Wrong Backing or Adhesive: Cheap adhesives don’t last. After a few washes, they peel. Go for quality backing and add stitches if needed.
- Thread Issues: Tangling or fraying? It’s usually tension, dull needles, or bad threading. Swap the needle and rethread, it fixes most problems.
- Overcomplicating Small Designs: Tiny details don’t show on small patches. Keep it simple so your design actually stands out.
- Skipping Edge Finishing: No clean border = fast fraying. A good edge keeps your patch strong and neat.
- Ignoring Fabric Compatibility: Not every fabric works the same. Match your thread, backing, and adhesive to the material.
FAQs
How do I make custom patches stick to backpacks?
A patch holds best when it’s gently set in place with heat, then secured with stitching around the edges. That balance is what keeps it steady through daily use.
Can I machine-wash custom patches?
Yes, you can machine wash patches. But the precaution varies upon the yes of patches. Like n sew on you are all on to apply any type of washing but with iron patch you need to bit piacular as it may fray off if the washing is harsh.
What is the difference between embroidered and woven patches?
Custom embroidered patches build their design on top of a base fabric using thread stitched through the material. This creates the characteristic raised, textured surface you feel when you run a finger across the patch. Custom woven patches integrate the design directly into the fabric structure during the weaving process, producing a flatter, smoother surface capable of finer detail and thinner lines.
Conclusion
Everyone wants to have an outfit that looks decent, easy to wear, and feels personalized. The best way to do this is to use custom patches. They’re affordable, stylish, durable, and don’t require much to add on.
If you understand how to make patches for your gear, then send your design to us—we’ll craft your visual idea into real, high-quality patches that you can carry on your clothes.
